
Overview:
Setting up receipt for kiosk. Paper receipts are covered in Steps A1 & A2; Email receipts are covered in Steps B1 and B2
Step A1:
Navigate to the Receipt Settings Tab.
Step A2:
Enter the details. Note there is a character limit per line ~60 or so, but dependent on the device.
Step B1:
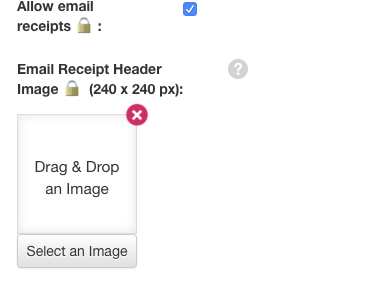
For email receipts - ensure the checkbox is hit
Step B2:
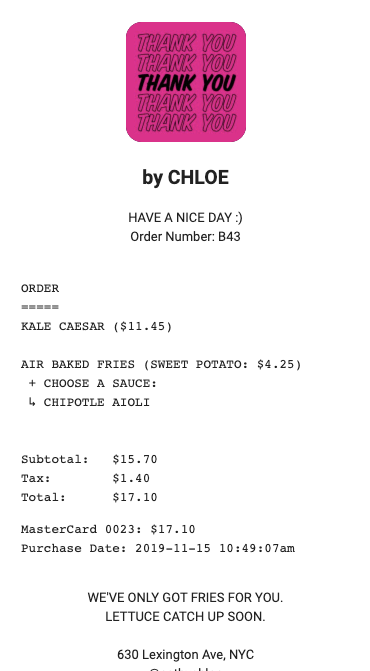
Turn upload an image for the logo (only for email receipts). Note the header and footer still applies. Sample receipt below
Comments
0 comments
Please sign in to leave a comment.