
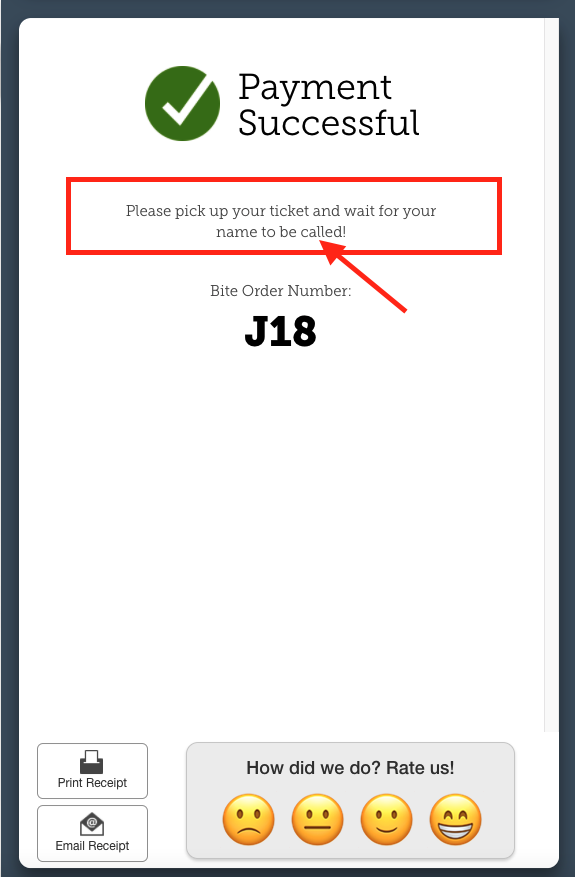
Success Screen fulfillment messages are configurable by each dining option. Below is an example of a fulfillment message on the Payment Successful screen on the kiosk.
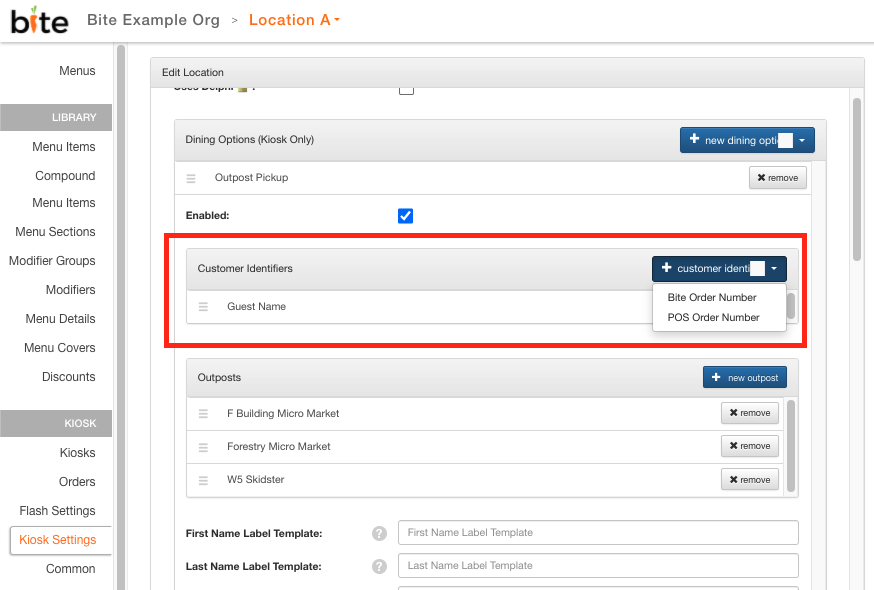
Please note that there are default instructions configured for each dining option, based on the Customer Identifier configured for each dining option. Customer Identifiers are configurable under each Dining Option under Flash Settings and Kiosk Settings tabs on the left side. Please see the default messages for each customer identifier below. The default messages will show on the Payment Successful screen if you leave the Success Screen Fulfilment Template field blank.
|
Customer Identifier |
Default Fulfillment Instruction |
|
Guest Name |
Your name will be called when your order is ready. |
|
Order Number |
Your order number will be called. |
|
Table Number |
Your order will be served to your table. |
|
Table Tracker |
Your tracker will ring when the order is ready. |
|
Vehicle Description |
Your order will be brought out once you have arrived outside the restaurant. |
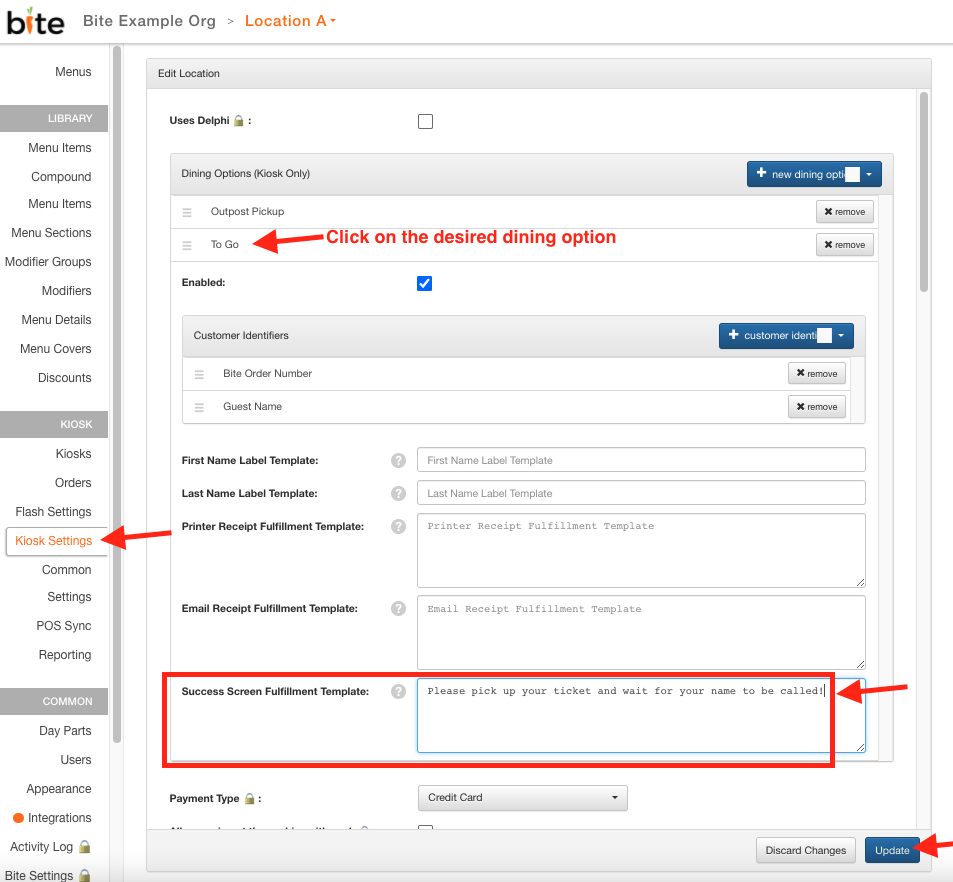
For configuring success screen fulfillment messages, follow the instructions below:
- Navigate to the desired organization and location in Bite Admin Portal
- Navigate to Kiosk Settings or Flash Settings tab
- Click on the desired Dining Option
- Enter the desired fulfillment method (ie. "Please wait for your name to be called.") in the Success Screen Fulfilment Template field.
The following tokens, based on the selected Customer Identifier for each dining option, can be incorporated into fulfillment messages on email and/or paper receipts.
-
- {{ORDER_NUMBER}}
- {{GUEST_NAME}}
- {{TABLE_NUMBER}}
- {{VEHICLE_DESCRIPTION}}
Additionally, you can incorporate the below HTML elements to insert line breaks or bold your messages
-
-
- <br/> for line breaks
- <strong></strong> or <b></b> tags (one before, other after text) for bold
-   for blank
-
5. Click update.
Comments
0 comments
Please sign in to leave a comment.